
Top 10 Lightroom Presets Free Download for Mobile: In today’s blog post, I am going to share with you some secret tips that, if you use them, will make your photos look much better, and when you post them on social media, they will attract a lot of attention. Also, I will show you how to import presets in the new version of Lightroom. Since the new version of Lightroom has completely changed, it has caused some confusion. But don’t worry, in today’s blog post, I will clear that confusion and guide you step by step on how to easily import the presets.
In this article, I am going to share the top 10 Lightroom presets with you. Using these, you can easily copy-paste and edit your photos in one click.
Top 10 Lightroom Presets
Lightroom Presets RDX Editor

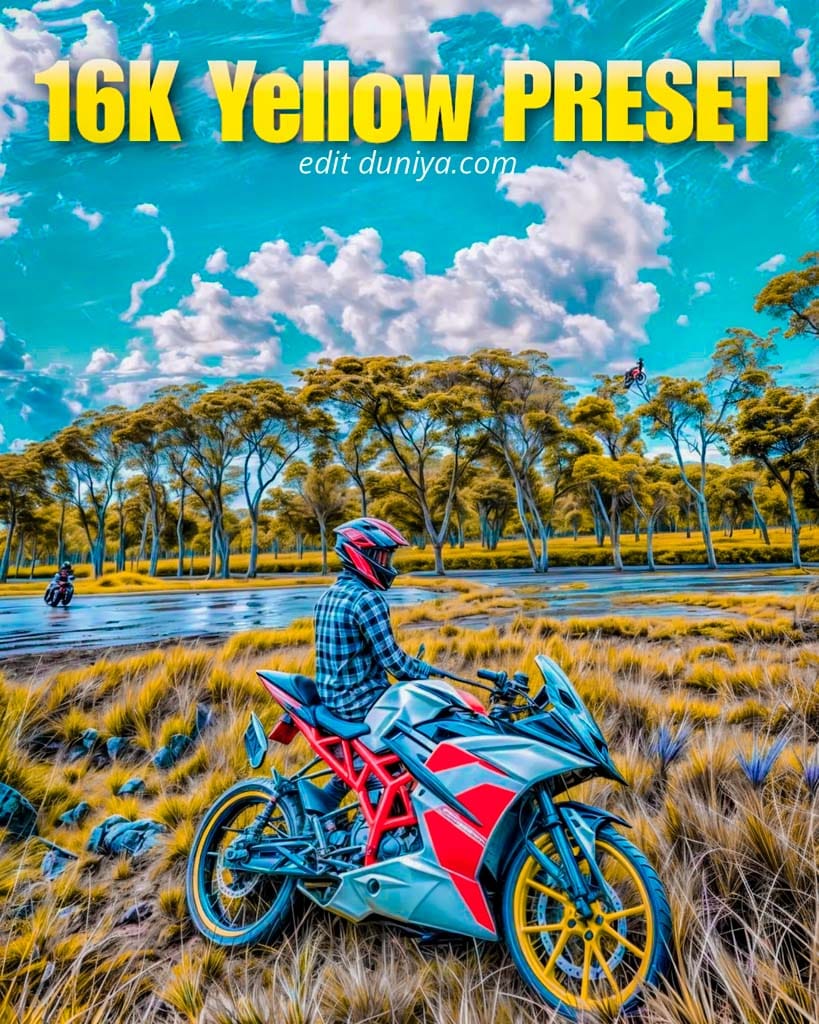
16K Yellow Lightroom Presets
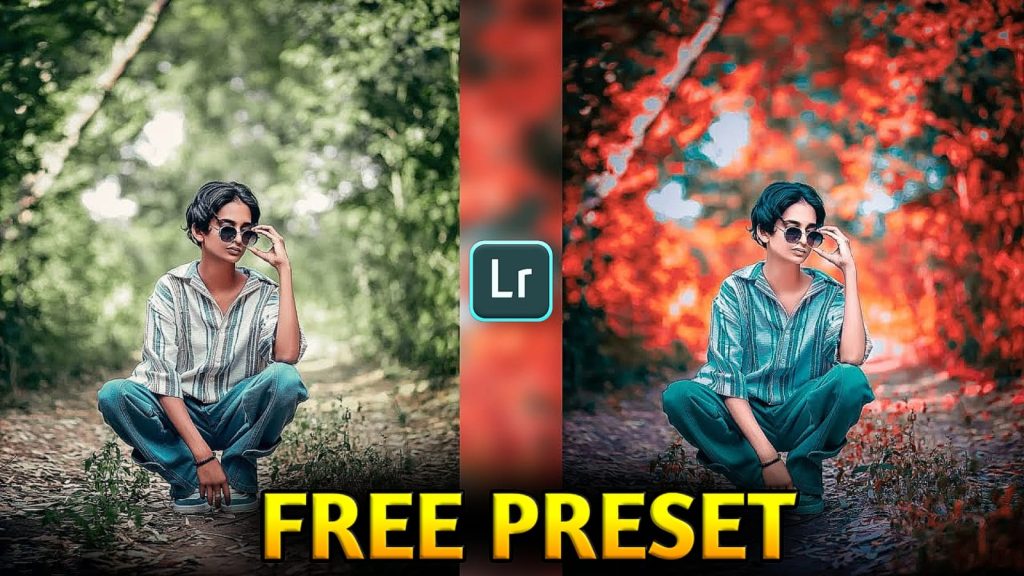
Red Tone Lightroom Preset
Face Smooth Lightroom Presets

Nagpuri Lightroom Presets

Grey Tone Lightroom Preset

DSLR Lightroom Preset

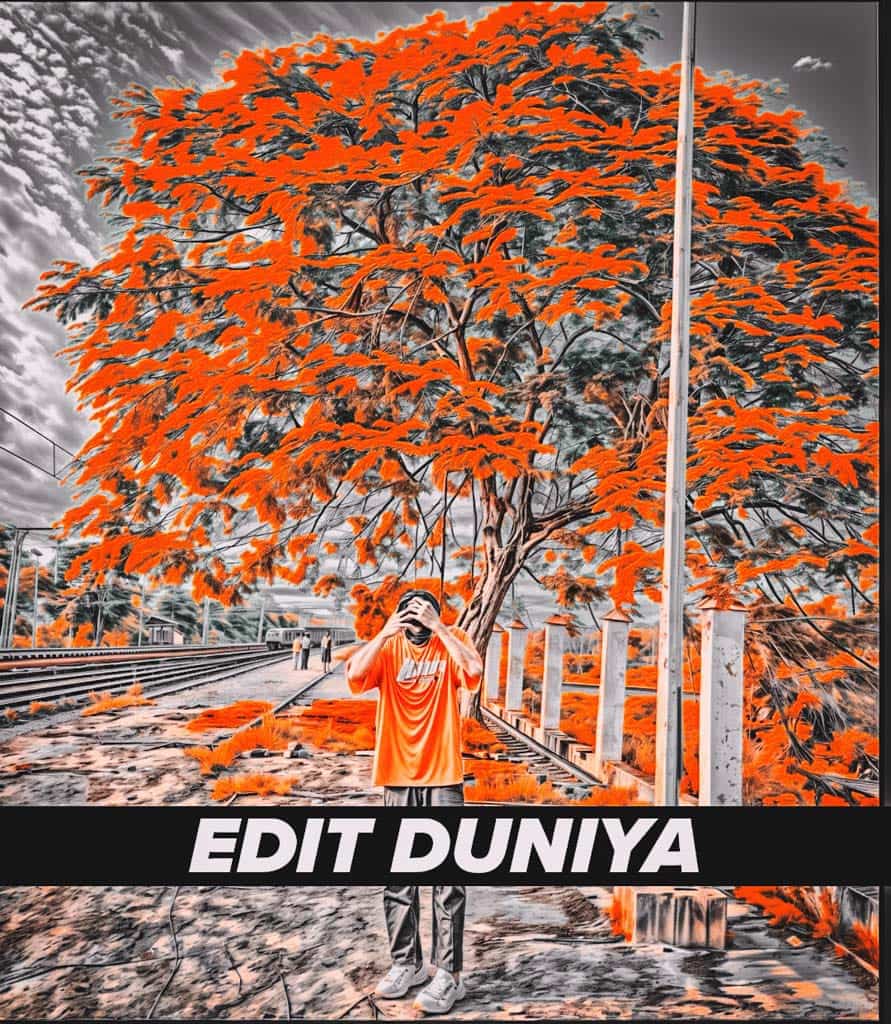
Orange and Black Free Lightroom Preset
Moody Pink Tone Lightroom Presets

Lightroom Preset BLUE & ORANGE Preset

How to Use Top 10 Presets:
- First, open the Lightroom app on your mobile or computer.
- Click on the “+” or “Add Photos” option at the bottom of the app.
- Select the photo from your phone’s gallery that you want to edit.
- Click on “Add” or “Import,” and the photo will be imported into Lightroom.
- Now, import the DNG preset file that you downloaded into Lightroom.
- Select the DNG file from “Add Photos” and import it.
- Open the imported DNG file.
- Click on the file to open it, and select “Copy Settings” from the three-dot icon.
- Then, open the photo where you want to apply the preset.
- After opening, click on “Paste Settings” to apply the preset.
- Once the editing is complete, click on the “Export” option. Now, save the edited photo to your phone or computer.
Conclusion
In this article, I have shown you how to import photos into Lightroom and how to easily edit photos using the top 10 Lightroom presets. If you use these presets, your photos will look much better, and when you post them on social media, they will attract even more attention. Thanks for reading today’s blog, and I hope it helps you. Thank you


