
Grey Tone Lightroom Photo Editing Preset Free: Hello friends, welcome to my website. Today I will teach you easy Grey Tone photo editing through the Lightroom application. You have to read this whole paragraph to learn this editing.
If you want to do this photo editing with one click, then today I will give you a Grey Tone Lightroom Photo editing preset.
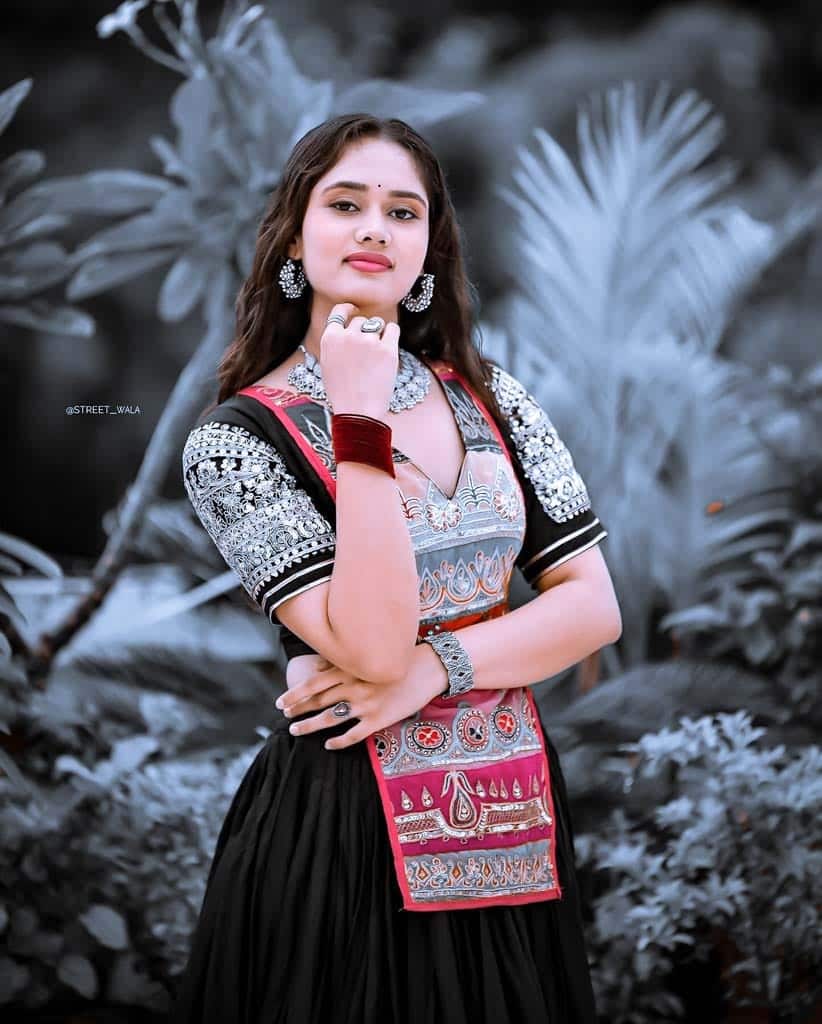
Grey Tone Lightroom Photo Editing Process
First, open the Lightroom application and choose an image that you want to edit. The color saturation of this image will be reduced, giving it a gray tone. Next, various color tones such as reds, blues, and greens will be reduced in saturation and instead increased in brightness and contrast, so that the image becomes a stylish gray tone.
Finally, the sharpening and noise reduction values will be adjusted, so that the image doesn’t crack and gets a smooth look. This way, your image will get a professional quality gray tone.


How to Use Lightroom Presets
- Download the Preset: First, download the preset.
- Apply the Preset: Click on the preset, then click on the three dots (menu) and select ‘Copy Settings.’
- Paste Settings: Now, click on your photo, click on the three dots again, and select ‘Paste Settings.’
- See the Result: Your photo will now display a gray tone.
Conclusion
By using this Lightroom Preset you can also edit your photos with gray tone. Friends, don’t forget to comment on how you like this Lightroom Preset today. Follow our website for more Lightroom presets like this


